 Save
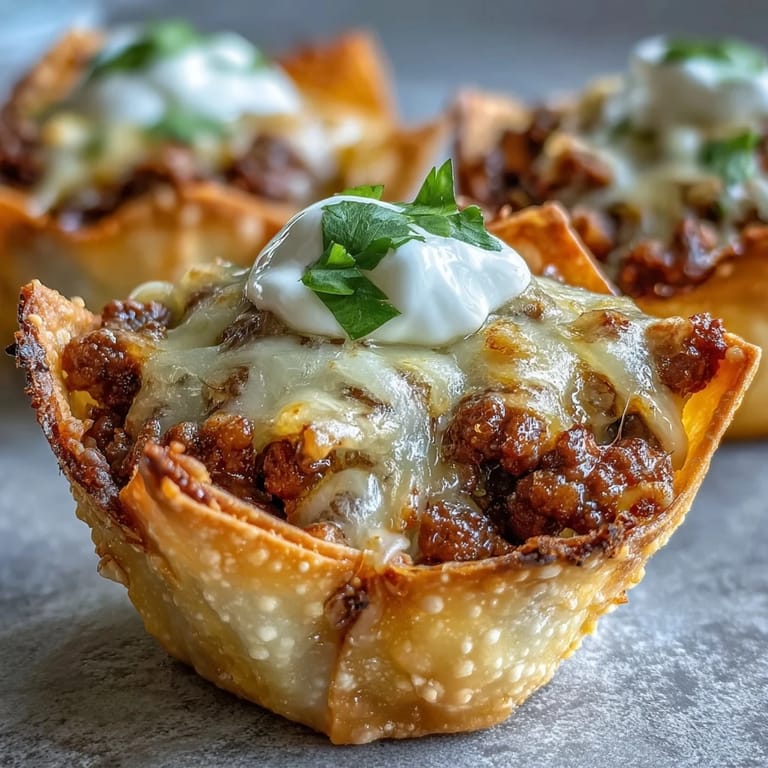
Save The sizzling sound as the mini taco cups crisp up in the oven always makes me smile. I stumbled onto this idea while staring at a lonely pack of wonton wrappers in my fridge, and it led to an unexpectedly festive dinner one rainy Thursday. There's something magic about turning humble ingredients into cheerful, bite-sized treats—each one a little parcel of comfort. The blend of crispy edges and gooey cheese never fails to get everyone hovering near the counter, stealing the first taste. If you're seeking an appetizer that's both playful and deeply satisfying, these mini taco cups earn their place for both weeknights and celebrations.
The first time I made these, my kids spent half the prep time suggesting wild toppings, and the other half racing to see who could snag the cheesiest cup. We laughed when someone tried to stack two cups together for a "double decker" version—no surprise, it needed a fork. One friend claimed these taste like a taco and a nacho got stuck in a muffin tin together, which is now our family joke. Clean-up was a breeze, thanks to using muffin trays instead of multiple pans. Gathering around the table with everyone customizing their own taco cups became the highlight of a gray evening.
Ingredients
- Ground beef or turkey (250 g): A well-seasoned protein base gives every bite richness—go lean for a lighter cup or swap for plant-based protein for vegetarians.
- Small onion (finely chopped): Soften and blend with meat for irresistible sweetness; I used red onions once, which added a subtle zing.
- Small tomato (diced, optional): Brings bursts of juiciness, especially if you use tomatoes that are firm and ripe.
- Canned corn kernels (1/2 cup, optional): Sweet pops of corn elevate the filling, and I learned to drain them well so the base stays crisp.
- Taco seasoning mix (1 packet): A shortcut for flavor, though you can tweak with extra chili powder for more heat if you want.
- Tomato paste (2 tbsp): Gives deep tomato flavor and a saucy consistency so the filling isn't dry.
- Water (2 tbsp): Helps bring everything together and distribute the seasoning evenly.
- Wonton wrappers (12): These crisp into golden shells in the oven—a light brushing of oil makes the edges even crunchier.
- Shredded cheddar or Mexican blend cheese (3/4 cup): Melts beautifully over the filling; pepper jack is fun for a spicy kick.
- Sour cream (1/4 cup, optional): Cool, creamy topping that balances the spices.
- Finely shredded lettuce (1/4 cup, optional): Adds a refreshing crunch on top just before serving.
- Diced tomatoes (1/4 cup, optional): Scatter over the top for bright color and flavor.
- Sliced green onions (2 tbsp, optional): A little green, a little bite—these make everything pop at the end.
- Chopped fresh cilantro (2 tbsp, optional): For an earthy, fresh garnish if you love that herby note.
Tired of Takeout? 🥡
Get 10 meals you can make faster than delivery arrives. Seriously.
One email. No spam. Unsubscribe anytime.
Instructions
- Get Your Oven Ready:
- Preheat the oven to 180&C (350&F) and lightly grease your muffin tray so nothing sticks—trust me, it makes all the difference.
- Shape the Cups:
- Press a wonton wrapper gently into each muffin cup, letting the corners fold as they may; the cracks are where the crunch happens.
- Sizzle the Filling:
- In a skillet over medium heat, cook your ground beef or turkey with the chopped onion until browned and fragrant, about 5–6 minutes; drain the fat so the cups aren't greasy.
- Spice it Up:
- Stir in tomato paste, taco seasoning, and water—let it simmer for a couple of minutes until thick and cozy, then fold in your tomato and corn if you want a pop of sweetness.
- Fill It Up:
- Spoon the savory mixture evenly into your shaped wonton cups, then let a generous pinch of cheese crown each one.
- Bake Until Golden:
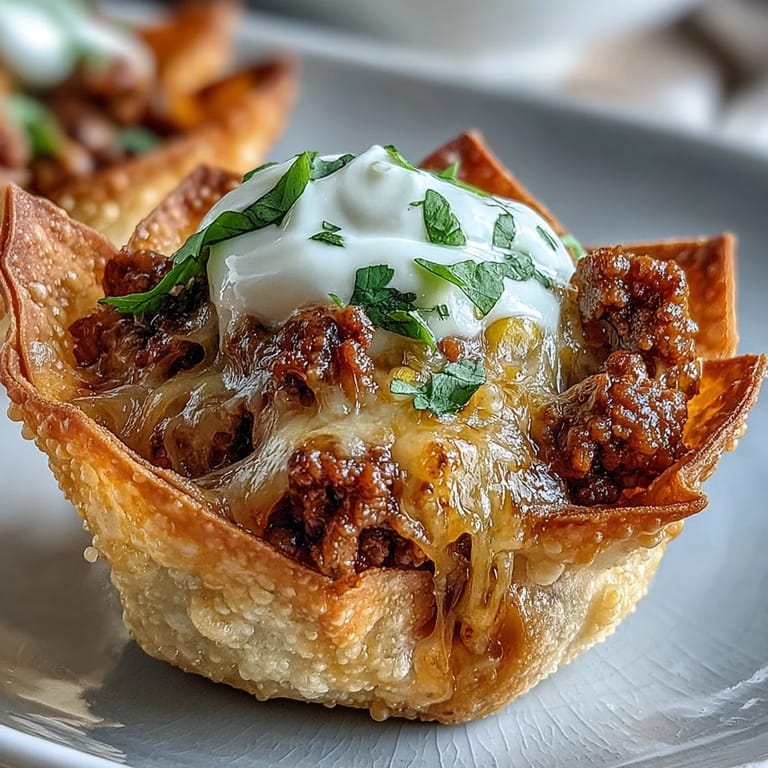
- Pop them in the oven for 10–12 minutes, watching through the glass for the moment those wonton edges go golden and the cheese bubbles invitingly.
- Top and Serve:
- Cool just a minute, then lift out gently and pile on toppings like lettuce, tomatoes, cilantro, and a dollop of sour cream—eat right away while perfectly warm and crisp.
 Pin it
 During a game night with friends, these mini taco cups disappeared faster than the cards could be shuffled. Someone declared they'd rather have these than old-school nachos, and I took that as the highest compliment. Passing the tray around, everyone got to pick their toppings—a culinary icebreaker that sparked lots of happy chatter. At that moment, these little cups somehow stole the show from the game itself. Sharing them made our small gathering a little more delicious and a lot more fun.
Make-Ahead Magic: Storing and Freezing Tips
I've learned that these taco cups freeze impressively well—they reheat in the oven and regain their crisp. Freezing them on a tray before bagging keeps their shape so you can pull out just a few at a time. When prepping for a party, I often bake a double batch and cool them completely before freezing. Let them thaw at room temperature for a few minutes and reheat at 180&C/350&F for five or so minutes. Having taco cups on hand makes impromptu celebrations effortless.
Customizing Your Taco Cups
Taco cups are a chameleon—change up the protein, use beans for a hearty vegetarian spin, or swap cheeses to suit your craving. Consider a blend of cheeses for more dimension, and don't be afraid of bold toppings like pickled jalapeños or smoky salsa. I love setting up a mini toppings bar so everyone can have fun assembling their own. This lets kids and adults tailor their bite to suit their mood. Plus, it makes dinner feel like an event, even on a quiet night.
Mistakes I Learned from (So You Donât Have To)
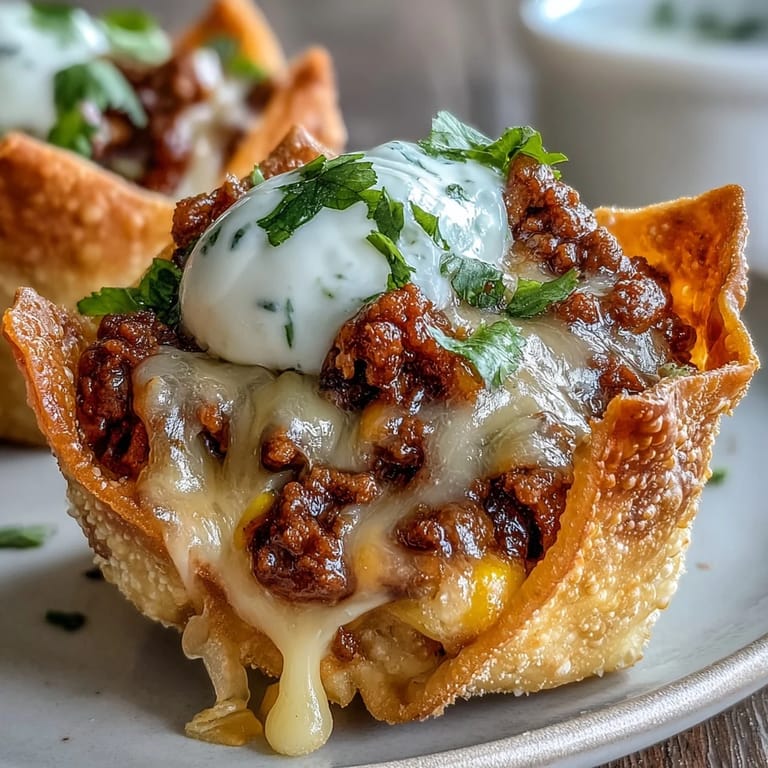
The first time I baked these, I didn't grease the pan enough and learned the hard way that crispy shells stick stubbornly. Parmesan sprinkled in the bottom of each cup gives a nutty crunch that surprised us the third time around, and now we never skip it. Timing matters: leaving them in too long dries things out, while too short and they're floppy instead of crisp.
- Donât overfill—leave room for cheese to melt without overflowing.
- A silicone spatula helps coax cups out gently.
- Serve right away for peak crispiness.
 Pin it
 Whether you're entertaining a crowd or just craving something playful, these mini taco cups are a surprise hit every time. Have fun experimenting, and don't be surprised if they become a new go-to in your kitchen too.
Frequently Asked Questions
- → Can I use ground turkey instead of beef?
Yes. Ground turkey works well; cook until browned and drain any excess moisture. Taste and adjust seasoning since turkey can be milder—add a touch more taco mix or a pinch of salt to boost flavor.
- → How do I prevent soggy wonton bottoms?
Drain the cooked filling well and simmer until thickened so it’s not watery. Press wonton wrappers firmly into the muffin cups and bake until edges turn golden; a short pre-bake (2–3 minutes) helps crisp them before filling.
- → Can these be made ahead or frozen?
Yes. Bake, cool completely, then freeze in a single layer before transferring to a bag. Reheat in a hot oven until warmed through and crisp. You can also assemble unbaked cups and freeze; bake from frozen with a slightly longer time.
- → What vegetarian swaps work best?
Seasoned black beans, lentils, or a plant-based crumbled protein seasoned with the taco mix make great meat-free fillings. Reduce added liquid and mash some beans slightly so the filling holds together.
- → Which cheeses and toppings are recommended?
Cheddar or a Mexican blend melts nicely; use pepper jack for extra spice. Top with shredded lettuce, diced tomato, sliced green onions, cilantro and a dollop of sour cream or crema for brightness.
- → Are there alternatives to wonton wrappers?
Yes—mini phyllo shells or small corn/flour tortillas pressed into muffin cups work. Adjust baking times: phyllo may brown faster, while tortillas may need a bit longer to crisp.