 Save
Save The kitchen always feels electric when I bake this Juneteenth Red Velvet Cake—there's something about the flash of scarlet batter against a pale mixing bowl that gives the whole space an easy kind of joy. I still remember the slight charge in the air as I first swirled food coloring into the cocoa-rich batter and wondered if it could possibly live up to all the hype I'd heard growing up. As I waited for the cakes to cool, the aroma mingled with afternoon sun through the window, making me realize desserts really could be celebrations in themselves. Even on an ordinary day, this cake brings out my inner perfectionist and my inner kid at the same time. Sharing a slice is always about more than just dessert—it's about marking the moment.
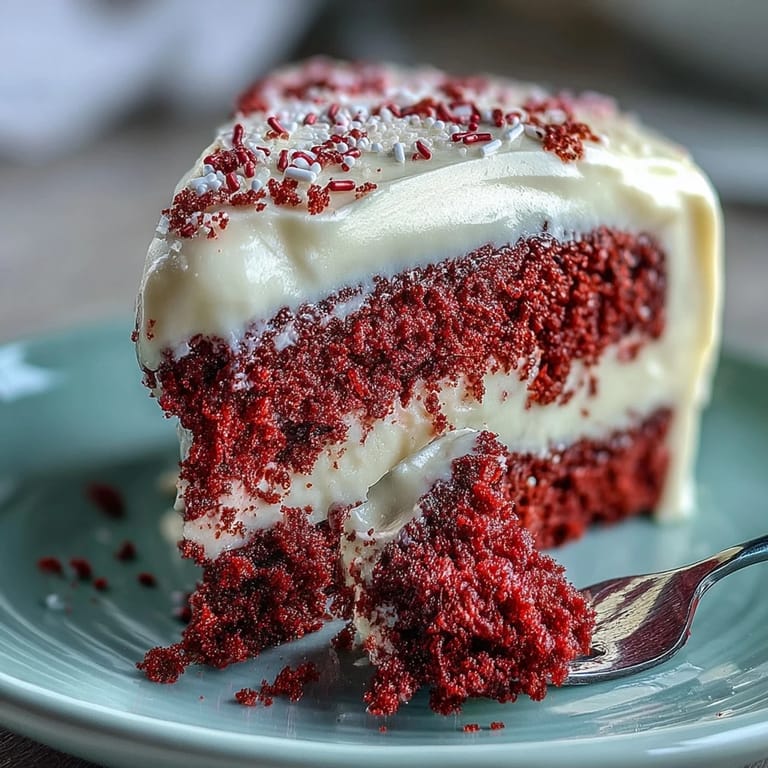
I once brought this cake to a Juneteenth potluck at my neighbor’s house, and before I could set it down, someone asked if it was 'the red velvet with the real cream cheese frosting.' The room buzzed with chatter and anticipation, and the first slice was claimed before any main courses were touched. We all joked about who would get the coveted piece with the thickest layer of frosting, and somehow, crumbs ended up everywhere—a sign of a good time if you ask me. My hands were still dusted with powdered sugar as I beamed at the bright red layers peeking from beneath their snowy frosting, grateful for food that can start a conversation. There's a reason this cake became everyone's second helping, even after a full plate of barbecue.
Ingredients
- All-purpose flour: Sifted for that classically soft crumb—don’t skip this if you want a tender cake.
- Granulated sugar: The key to that gently sweet, surprisingly plush bite every good red velvet has.
- Baking soda: Lends height and keeps everything light rather than dense—a little goes a long way.
- Salt: Lifts all the flavors, balancing out the rich sweetness and tang.
- Cocoa powder: Only a hint is needed; it deepens color and brings velvetiness without turning this into a chocolate cake.
- Vegetable oil: Guarantees a moist texture—just trust me on this, butter isn't the same here.
- Buttermilk: Don't substitute—its tartness is essential and makes the crumb melt in your mouth.
- Large eggs: Room temperature is best for even mixing—cold eggs can shock the batter and make it lumpy.
- Red food coloring: Use enough for bold color, but remember: a little more can heighten the drama, especially for celebration days.
- Distilled white vinegar: Not just for tang—it helps set the red color and reacts with the leaveners for a subtle lift.
- Vanilla extract: Rounds out the flavor and adds inviting warmth to both cake and frosting.
- Cream cheese: Needs to be truly soft for the silkiest frosting—let it sit out longer than you think is necessary.
- Unsalted butter: Room temp butter whips up fluffier—this matters for that signature cloud-like icing.
- Powdered sugar: Sifted so your frosting stays velvety with no lumps—passing it through a fine mesh is worth the extra moment.
- Pinch of salt (for frosting): Makes all the sweet and tangy notes shine—don’t overlook it.
Tired of Takeout? 🥡
Get 10 meals you can make faster than delivery arrives. Seriously.
One email. No spam. Unsubscribe anytime.
Instructions
- Prep the pans and oven:
- Set your oven to 350°F (175°C) and get two 9-inch pans buttered and floured—the sizzle when the batter hits is half the fun.
- Whisk the dry ingredients:
- In a big bowl, sift together flour, sugar, baking soda, salt, and cocoa powder; let the cocoa fragrance swirl around as you work.
- Combine wet ingredients:
- In a separate bowl, whisk the oil, buttermilk, eggs, food coloring, vinegar, and vanilla until fully blended, marveling at the deep red hue.
- Bring it all together:
- Gradually fold the dry into the wet—do this gently and stop the second you no longer see flour. The batter will look vivid and a bit dramatic.
- Bake the cakes:
- Pour even amounts into both pans and slide them into the oven. After about 28 minutes, the kitchen will start to smell irresistibly cocoa-forward; check with a toothpick at 28-32 minutes for doneness.
- Cool thoroughly:
- Let the cakes cool in their pans for 10 minutes (just enough time to wash up), then gently invert onto a rack—don't rush, or you'll risk breaking the cakes.
- Make the frosting:
- Cream the soft butter and cream cheese until fluffy using a mixer (about 2-3 minutes). Add powdered sugar slowly, then finish with vanilla and a pinch of salt for balance; beat until perfectly smooth.
- Assemble and frost:
- Once the cakes are truly cool, spread an even layer of frosting between them and cover the entire cake, savoring those satisfying swoops with a spatula.
- Decorate (optional):
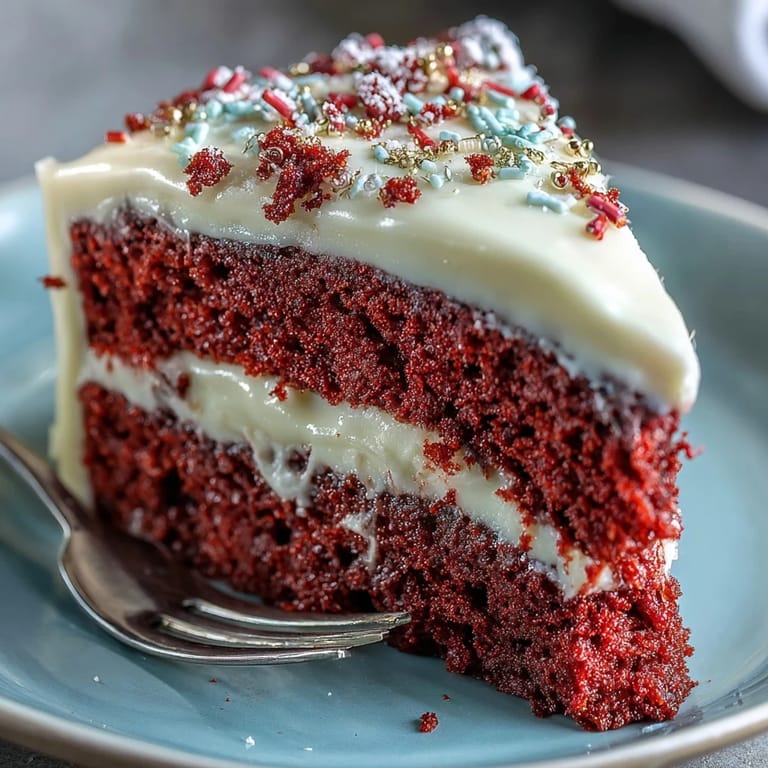
- Dust the top with red or gold sprinkles or scatter a few cake crumbs for a festive finish.
 Pin it
 The first time my uncle tried this cake, he paused and grinned before declaring it “just like the ones from the fancy bakeries,” which made my whole week. Even leftovers disappeared mysteriously in the night—no one confessed, but I didn’t mind one bit. Somehow, standing around the counter with forks and good stories, sharing this cake turned snack time into a true family ritual. When the laughter lingered longer than the slices, I realized Juneteenth foods really could create their own traditions. It’s amazing how something so vibrant can become the thread tying together so many small moments.
Layering Your Cake Like a Pro
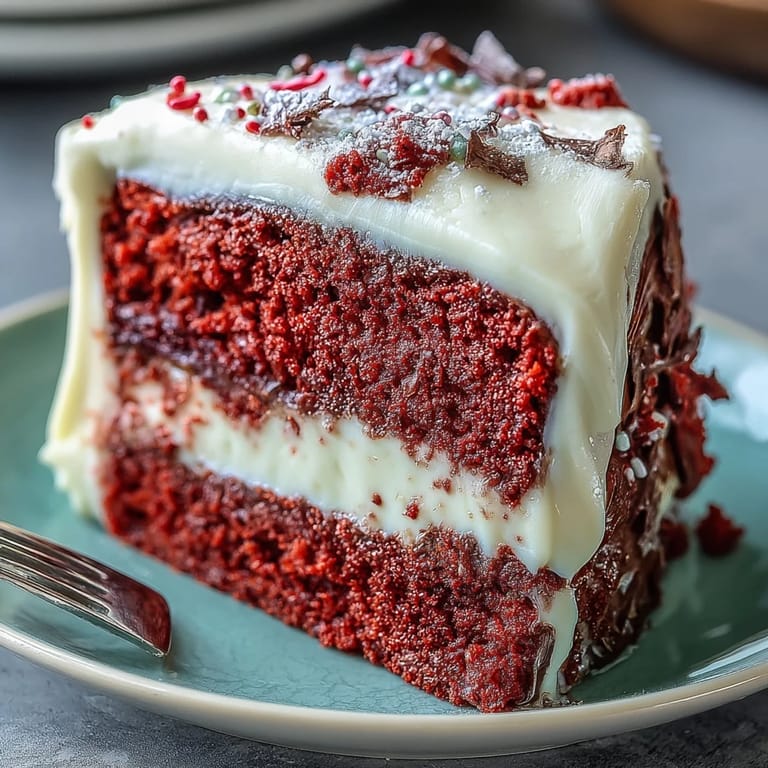
Before stacking, trim the rounded tops off each cake for a sturdier, more elegant finish—plus, you get to sample the scraps. Use an offset spatula for even frosting, and if you want those neat bakery edges, layer a thin “crumb coat” first, chill the cake, then finish with another layer. Chilling may seem fussy, but it makes decorating faster and much less stressful. If the frosting feels too soft, pop it in the fridge for 10 minutes and try again. Imperfection is part of homemade charm, but these tricks go a long way for party presentation.
Making Ahead and Storing Leftovers
Red velvet cake actually improves after a night in the fridge—the flavors meld and the crumb stays perfectly tender. Cover the cake tightly with plastic wrap, or store slices in a sealed container, and they’ll last two to three days without drying out. A cold slice is especially dreamy with a morning cup of coffee or tea. Just let it sit at room temperature for 30 minutes if you want the frosting to soften again. Trust me, leftovers won’t stick around long.
Fresh Twists to Try Next Time
Don’t be afraid to experiment—add a grating of orange zest to the frosting for a delicate citrus lift, or sprinkle toasted pecans on top for crunch. If you’re short on red food coloring, a swirl of raspberry jam between the layers creates a lovely marbled look without sacrificing color drama. Even swapping vanilla for almond extract gives a subtle twist that takes just a moment. The beauty of a classic cake is that there’s always room for a bit of personality—your version deserves its own signature touches.
- If you only have salted butter, reduce the pinch of salt in the frosting to taste.
- Use parchment circles under each cake layer so they lift out cleanly—no more pan wrestling.
- Check your oven temp with an oven thermometer to avoid under or overbaking.
 Pin it
 This red velvet cake will always remind me of laughter, bright colors, and celebration—wishing your Juneteenth gathering is just as memorable. Don’t forget to sneak an extra forkful for yourself before everyone else finds out.
Frequently Asked Questions
- → How do I get a deeper red color?
Increase the red food coloring slightly or use a concentrated gel dye for a more intense hue. Natural color can be enhanced by ensuring the batter's acidity is balanced with vinegar and buttermilk.
- → Can I replace buttermilk?
Stir 1 cup milk with 1 tablespoon vinegar or lemon juice and let sit for 5 minutes to mimic buttermilk's acidity and tender crumb.
- → How should I bake the layers for even rise?
Divide batter evenly between pans, tap them gently to release air pockets, and bake at 350°F. Rotate pans halfway through if your oven has hot spots; test with a toothpick at 28–32 minutes.
- → How do I get a smooth cream cheese frosting?
Soften cream cheese and butter to room temperature, beat until silky, then add sifted powdered sugar gradually. Chill briefly if frosting becomes too soft for spreading.
- → What are good garnish ideas?
Use red or gold sprinkles, cake crumbs, or a light dusting of cocoa. A hint of orange zest on top adds a bright, complementary note to the frosting.
- → How long can it be stored?
Store covered in the refrigerator for up to 1–2 days for best texture. Bring to room temperature before serving to restore creaminess to the frosting.